BETA Notice
You’ll see a BETA label next to the new Import feature—this indicates it’s version 1 of a tool we plan to expand and refine over time. It’s functional and ready to use, though you may notice a few rough edges as we gather feedback and shape future enhancements.
Overview
cAdmin’s Import feature lets you pull in lists, session types, activities, campaigns and more from any past meeting—no rebuilding from scratch. By reusing proven configurations, you slash setup time and costs, reduce manual data-entry errors and enjoy the flexibility to mix and match only the components you need for each meeting.
Who Can Use It
All cAdmin roles have access to Import, except for Freelance Onsite AV Staff & Vendors.
Where to Find Import
• Homepage: Click Import in the upper-right corner.
• Individual Dashboards (Lists, Activities, Campaigns, etc.): Click Import on that dashboard to copy only those settings.
What You Can Import
1. Lists
2. Custom Terms
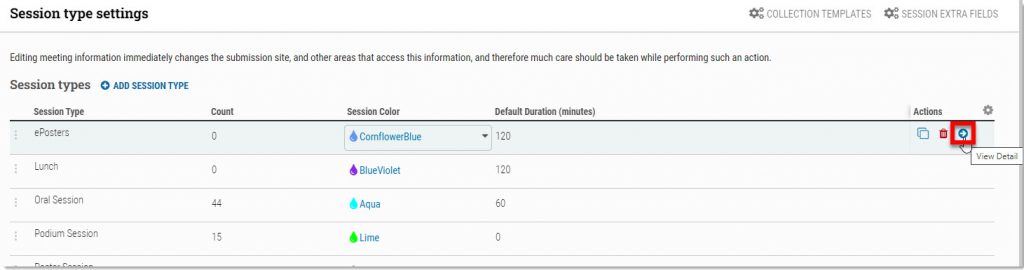
3. Session Types
4. Activities
5. Campaigns
6. Extra Data Fields
7. Media Types
8. Collection Templates
Full Import Wizard (All‑in‑One)
1. Initiate Import
• From the homepage, click Import (upper right).
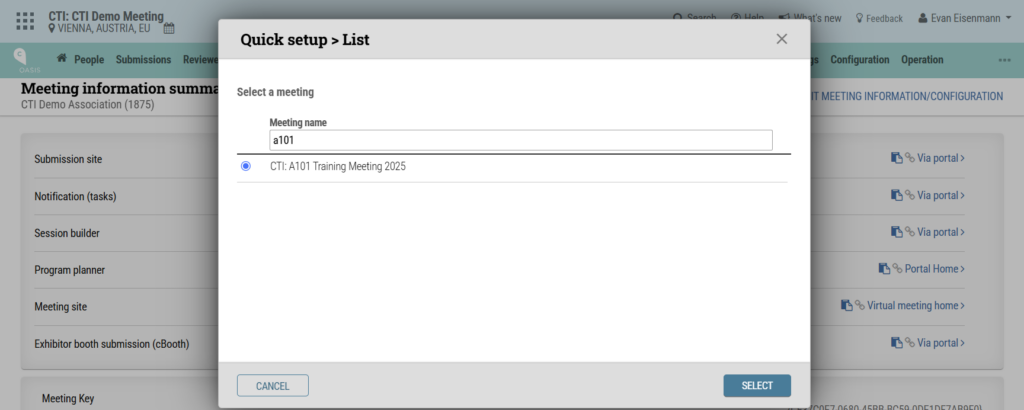
2. Select Source Meeting
• Choose the meeting whose settings you want to copy.
• Use the search bar to filter by meeting name or date.
3. Step Through Each Setting
Lists
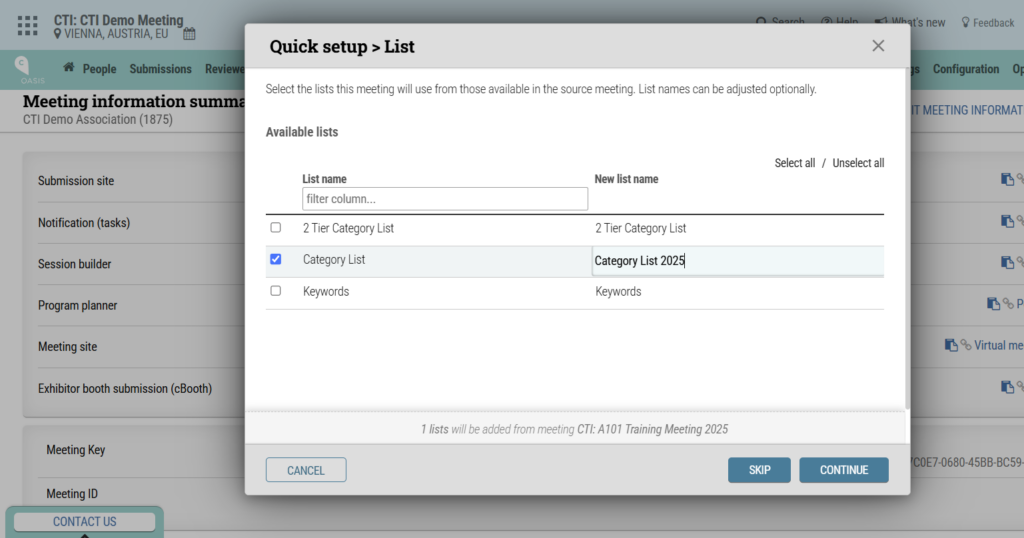
• Skip if you don’t need them.
• Select any list to copy. When you do, its row may highlight yellow—this indicates that a list with the same name already exists in the new meeting. You must rename it in the New list name field (e.g., “Category List” → “Category List 2025”), otherwise the import won’t allow duplicate names.
Custom Terms
• Check the terms to import and adjust each “Meeting level value” as needed.
• The running footer at the bottom of the dialog box reminds you which meeting you’re copying from.
Session Types, Activities, Campaigns, etc.
• Follow the same pattern: skip or select, then rename or update as desired. Any selection that conflicts with an existing name will highlight yellow, signaling you to provide a new name before proceeding.
4. Review & Confirm
Click Continue at each step to confirm or skip the import.
5. Verify
After completing the wizard, visit each dashboard to ensure your imported settings appear correctly.
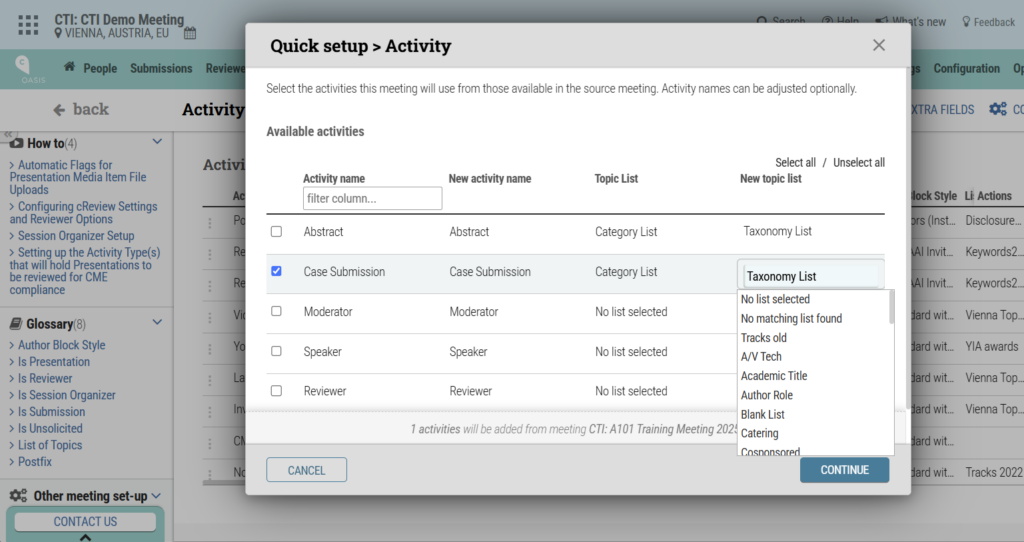
Quick-Pick Imports
If you only need one setting (e.g., an activity):
1. Navigate to the relevant dashboard (e.g., Activities) and click Import.
2. Select your source meeting and the specific item(s) you want to bring in. The selected row will highlight yellow if its name already exists—rename it to avoid conflicts. For activities, you can also choose a New topic list.
3. Click Continue to confirm the import.
Benefits
• Time & Cost Savings: Reuse proven configurations rather than rebuilding from scratch.
• Error Reduction: Minimize manual data-entry mistakes.
• Flexibility: Mix and match only the components you need for each meeting.